 Loading... Please wait...
Five Steps to Stationery Nirvana
Posted by on
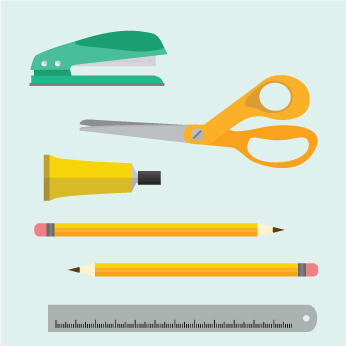
At home with “The That’s Mine Blog”, we’re frequently in despair at the “missing in action” status of our favourite pens, sticky tape and scissors .
So we’ve called in the big guns
This means Professional Organiser, Jo Carmichael, who’s going to show us how to bring all those office necessities into line once and for ever.
Jo is the dynamo behind Sydney-based business All Sorted Out and featured in Channel 7’s reality doco “All You Need” where she worked her magic on some over-cluttered bedrooms.
That’s Mine recently launched a new range of designer organisation labels and Jo can show us how to use them for a “finally and forever” solution to all our stationery woes.
Step 1: Round up
With Jo’s help, we round up stationery from all over the house. This actually takes a bit of doing as supplies have been roaming for some time and now inhabit bedrooms, offices, craft areas, garages and kitchens. Everything gets put on a clear patch of floor or table so it can be evaluated. According to Jo, our eight pairs of scissors are nothing unusual, although even she blanches at the forty or so tubes of glue!
Step 2: Get sorting
Once you have marveled at how many highlighters, glue sticks and pencil sharpeners you own, it’s time to take stock and put them in groups. For our haul, Jo suggests about a dozen groups – glues, pens, pencils, sharpeners, calculators, markers, paper clips (which includes bulldog clips as well), staplers, scissors, sticky tape (which includes masking tape, packing tape etc), rubber bands and crafting.
Step 3: Set up your zones
With all those supplies at the ready, it’s time to equip the places you need stationery to be. Office drawer? Give it a good supply of pens, pencils and one of your five calculators. Kitchen? That’ll want your sharpest scissors, pens and a good pad for shopping lists. Kid’s bedrooms and pencil cases? Check they have adequate supplies from your burgeoning piles.
Step 4: Containerise any leftovers
Playing with stationery hasn’t been this much fun since pre-school! With Jo’s help, we track down a dozen likely-looking containers, dividers and tubs. Now the job is to find a home for a “stationery cupboard” that will store the excess. Two shelves in the living room cupboard do the job brilliantly. We use a further shelf for paper supplies, spare folders and plastic envelopes and a “Household Fix-it” tub which holds everything from furniture hex tools to floor protectors.
Step 5: Label It!
We’ve done the hard work in setting up a place for everything, now we need labels to make it permanent. A well-organised space can function well for years so it’s important to choose labels that you enjoy using. We decide on the Designer Pantry labels in the aqua vinyl with woodlands font. While I’m waiting for them to arrive we put small post-it notes on the boxes so we don’t forget anything!
And the result?
Who would think a couple of stationery shelves could be such a thing of beauty and joy? And yet I find myself admiring the space every time we use it. So far, sanity-preserving effects have included:
- Avoiding shopping trips (and saving money) because I knew we already had a spare calculator/masking tape/palm cards for debating;
- Settling down to wrap presents without a mad search for pen/scissors/sticky tape; and
- Being able to marshal wandering supplies back to their rightful home instantly (and even better, delegating that job).
Have you tried using our Designer Pantry labels to organise other spaces in your house? We’d love to hear about it or see the results!
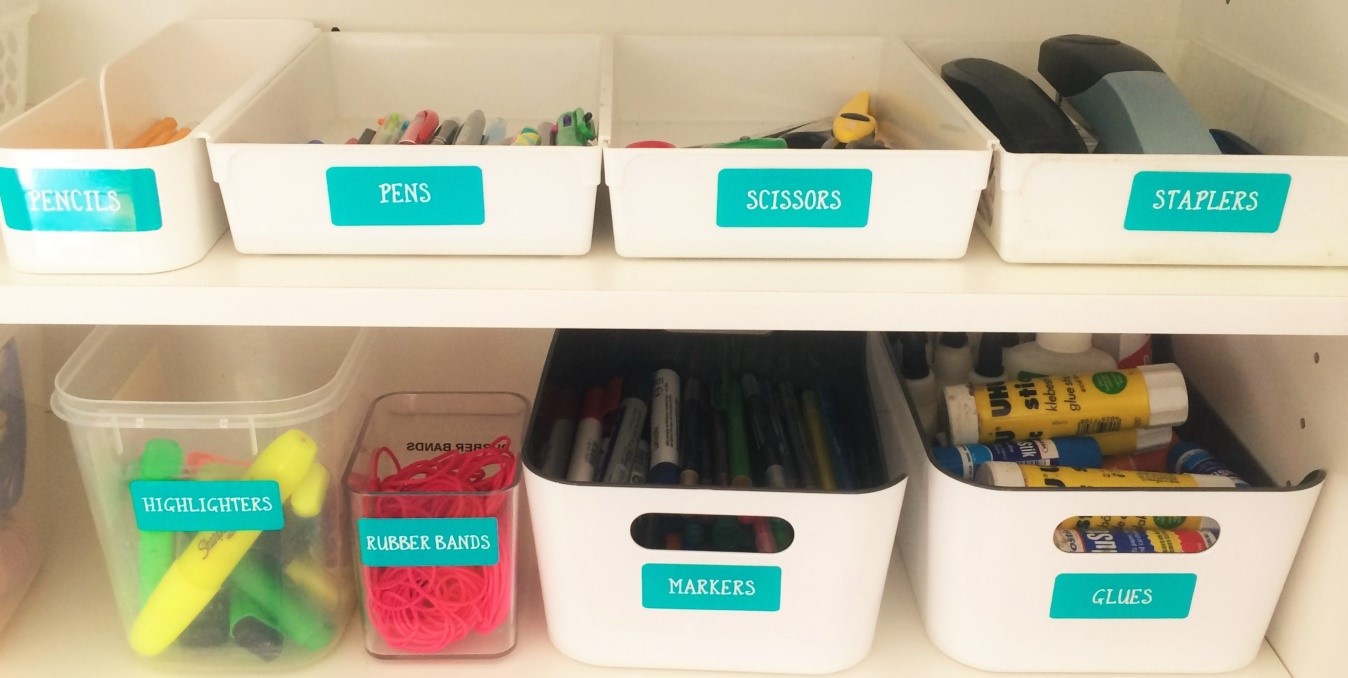
We used Designer Pantry Labels in teal with a “woodlands” font.